
How to Install Recessed Lighting: A DIY Guide
- Justin McCurdy

- Jan 16
- 16 min read
Putting in recessed lighting is one of those projects that can totally change the look and feel of a room. It's all about planning your layout, cutting some holes in the ceiling, running the wiring, and hooking up the fixtures. The end result is a clean, modern atmosphere, but let's get one thing straight from the start: safety is the top priority. Always kill the power at the circuit breaker before you even think about touching a wire.
Transform Your Home with Modern Lighting

There’s no denying it—recessed lighting can make a space feel bigger, brighter, and way more inviting. It’s an upgrade that adds a serious touch of modern style. But let's be real, retrofitting them into an existing home can be a major undertaking.
That's actually why our homes include a full set of recessed lights as a standard feature. It saves our clients from the mess, the headache, and the surprisingly high cost later on.
Think about this for a second: most builders will charge anywhere from $250 to $500 per light as an upgrade. Imagine moving into your brand-new home with all of that perfect lighting already in place, knowing you saved a bundle.
If you're geared up to take this project on in your current home, you've come to the right place. This guide is packed with friendly advice and practical examples. A great way to start is by looking into energy efficient can lights, which are just modern, eco-friendly recessed fixtures that can lower your electric bill.
A Smarter Way to Build Your Dream Home
While this guide is all about the DIY route, I have to mention how much easier it is to get these things right from the very beginning. When you choose to build a new home with me in communities across Baltimore County and Harford County, we bake these features in from the start. That means you get to skip the future renovation projects and focus on the fun stuff, like choosing your floors and countertops.
I go a step further—offering my clients unique proprietary visualization tools, hands-on service, and access to visualizers that help you bring your dream space to life. You can see how all your custom choices will look together before we even break ground, making sure the home you move into is the one you’ve been dreaming of. You can see what I mean by checking out the finished product in our gallery of new homes in Maryland.
Creating Your Perfect Lighting Layout
Before you even think about picking up a drill, we need to talk about the most important step in this whole process: creating your lighting layout. A solid plan is what separates a room that just has lights from a space that feels professionally designed and perfectly lit. This is where you map out exactly where each fixture will go to get the biggest impact.
Trust me, thinking this through now will save you a world of headaches later on. Cutting a hole in your ceiling is a pretty big commitment, so you want to get it right the first time.
Tailor the Layout to the Room
Every room serves a different purpose, so a one-size-fits-all lighting plan just doesn't work. The function of the space should be the first thing you consider when mapping out where to put your lights.
A kitchen, for example, needs bright, focused task lighting. You’ll want to space your lights a bit closer together and position them directly over countertops and the island. This is key to getting rid of annoying shadows when you're chopping vegetables or trying to read a recipe.
A living room, on the other hand, is all about creating soft, ambient lighting. The goal is a warm, inviting atmosphere. That means you can space the lights further apart to cast a more general, even glow across the whole room.
A great rule of thumb to get you started is to divide your ceiling height by two. For instance, for a standard 8-foot ceiling, you’d aim for about 4 feet of space between each light. It's just a guideline, of course, but it’s a fantastic way to start visualizing the layout.
Find Those Ceiling Joists
Once you've got a rough idea of where you want your lights, it's time to find the hidden structure in your ceiling—the joists. These are the wooden beams your drywall is attached to, and you absolutely have to know where they are. Hitting a joist with your hole saw is a classic DIY mistake that can stop your project in its tracks.
Grab a good quality stud finder and carefully scan the ceiling. Use a pencil to lightly mark the location of each joist. This quick step is crucial for two reasons:
Avoiding Obstructions: You can easily adjust your layout to make sure every hole you cut will land in an open space between the joists.
Planning Your Wiring: Knowing the joist locations helps you figure out the easiest and most efficient path for running the electrical cable from one light to the next.
Taking a few extra minutes to mark out your joists and finalize your light positions with pencil marks gives you a clear visual guide. You can step back, look at the whole plan, and make any final tweaks before you make that first cut.
The Advantage of Planning from the Start
Mapping out a lighting plan is a crucial part of any renovation, but it really shows the benefits of designing a home from the ground up. When my clients build new homes with me in communities like White Marsh, Maryland and Edgewood, Maryland, this is all handled from day one.
We work together, using visualization tools to see exactly how the lighting will look with their specific flooring, cabinets, and countertops. Best of all, our homes include a full set of recessed lights as a standard feature, so no install needed! That’s a huge value, especially when you consider that most builders charge between $250 to $500 per light as an upgrade. By planning ahead, you can walk into a perfectly lit home without the future hassle or expense. If you're curious about how a thoughtfully designed space comes together, you can explore our new home floor plans in Maryland to see how integrated features like lighting create a seamless living experience.
Gathering Your Tools and Materials
Walking into a project with all your gear ready is more than just good prep—it's a sanity-saver. When you’re about to start cutting holes in your ceiling, having everything you need within arm's reach makes the whole job go smoother, faster, and a heck of a lot safer. It's the best way to avoid that frustrating, dust-covered trip to the hardware store right in the middle of everything.
Let’s get your toolkit sorted first. Some of this stuff is basic, but a couple of items are absolutely non-negotiable for doing this job right.
Non-Contact Voltage Tester: This is your number one safety tool, period. It lets you confirm the power is off without touching a single wire. Don't even think about starting without one.
Drill with a Hole Saw: Make sure you get a hole saw that’s the exact size specified for your light housings. For example, check the box—it will tell you precisely what you need for a snug fit, whether you're using 4-inch or 6-inch lights.
Wire Strippers/Cutters: A good, sharp pair is crucial for making clean, secure electrical connections. Frayed wires are a no-go.
Fish Tape: If you don't have attic access and need to run wire through a finished ceiling, fish tape will be your best friend. It’s what lets you magically pull cables from one hole to another.
Stud Finder: You should already have one from the layout phase, but it’s worth mentioning again. Hitting a joist with your hole saw is a quick way to ruin your day.
Choosing the Right Materials
Now for the fun part—the actual lights and wiring. What you buy here depends entirely on your home's setup, and this is where a little bit of know-how really pays off.
Your biggest decision is the recessed light housing, which most people just call the "can." Picking the wrong one will bring your project to a screeching halt.
I've seen it a dozen times: a common DIY mistake is grabbing 'New Construction' housings for an existing ceiling. Those are meant to be nailed to bare joists before drywall goes up. For a project like this, you almost certainly need 'Remodel' housings. They use clever little clips that clamp right onto your existing drywall from above.
Another critical detail is insulation. If your lights are going into an insulated ceiling, you must use housings that are IC-rated (Insulation Contact). This is a non-negotiable fire safety rule. IC-rated cans are specifically designed to be buried in insulation without creating a fire hazard.
Finally, you need the right cable. For a standard lighting circuit on a 15-amp breaker in your home, 14/2 NM-B cable is the go-to. The "14" is the wire gauge, and the "2" tells you it has two insulated wires (one black, one white) plus a bare copper ground wire inside.
Recessed Lighting Housing Types Explained
Trying to figure out which "can" is right for you can be confusing. This little table breaks down the main types to help you grab the perfect one for your project.
Housing Type | Best For | Key Feature |
|---|---|---|
Remodel Can | Adding lights to an existing ceiling | Clips attach directly to the drywall for easy installation from below. |
New Construction Can | Ceilings with exposed joists | Mounting brackets are nailed or screwed directly to the joists. |
IC-Rated | Insulated ceilings | Safely allows direct contact with insulation without fire risk. |
See? Once you know what to look for, it's pretty straightforward. Just remember: existing ceiling = Remodel can.
The Value of Having It Done for You
Running around gathering all these specific supplies is a perfect example of why our clients in White Marsh, Maryland and Edgewood, Maryland love that our homes come with a full set of recessed lights already installed, no work required! It’s not just about skipping the work; it’s about avoiding the cost. Most builders will charge you $250 to $500 per recessed light as an upgrade. By making them standard, we save you thousands and you get to walk into a bright, beautifully lit home from day one—no tools, dust, or extra bills required.
Your Hands-On Installation Guide
Alright, this is where the planning meets the sawdust. You've got your layout all mapped out on the ceiling, your tools are ready to go, and you're about to bring this whole thing to life. Let's walk through the actual installation, keeping safety at the absolute top of the list. My goal here is to make sure you feel confident and can get this done right, turning those pencil marks into beautiful, functional light.
But before we even think about cutting into that ceiling, we need to handle the most critical part of this entire project: the power.
Safety First: Always Kill the Power
Head over to your home's main electrical panel—it’s usually tucked away in the basement, garage, or a utility closet. Find the circuit breaker that sends power to the room you're working in and flip it firmly to the "OFF" position.
Now for the step you can't afford to skip: verification. Go back to the room with your non-contact voltage tester in hand. Touch the tip of the tester to the existing light switch or any outlets on that same circuit. The tester should stay silent and dark. This is the only way to be 100% sure the power is off and you're safe to work.
Don't ever get complacent with this. Assuming a breaker is off is one of the most dangerous mistakes you can make. Always test before you touch.
With the power confirmed dead, it's time for the most satisfying (and messiest) part of the job.
Cutting Clean Holes in Your Ceiling
Grab your drill and the hole saw that matches the template that came with your recessed light housings. A quick heads-up: this is going to create a blizzard of drywall dust, so pop on those safety glasses and a dust mask.
Center the pilot bit of the hole saw right on your pencil mark. Start the drill slowly just to get the cut going, then ramp up the speed. Apply steady pressure, but let the saw do the work—don't force it. In a few moments, you’ll pop out a perfect circle of drywall.
Just repeat that for all your light locations. Now you've got a ceiling full of openings, ready for the wiring.
What happens if the saw suddenly stops? You’ve probably hit a ceiling joist. No need to panic. Most of the time, you can just shift your mark an inch or two to the side and try again. Patching a small hole is way easier than trying to notch a structural joist.
This visual breaks down the prep work pretty well.
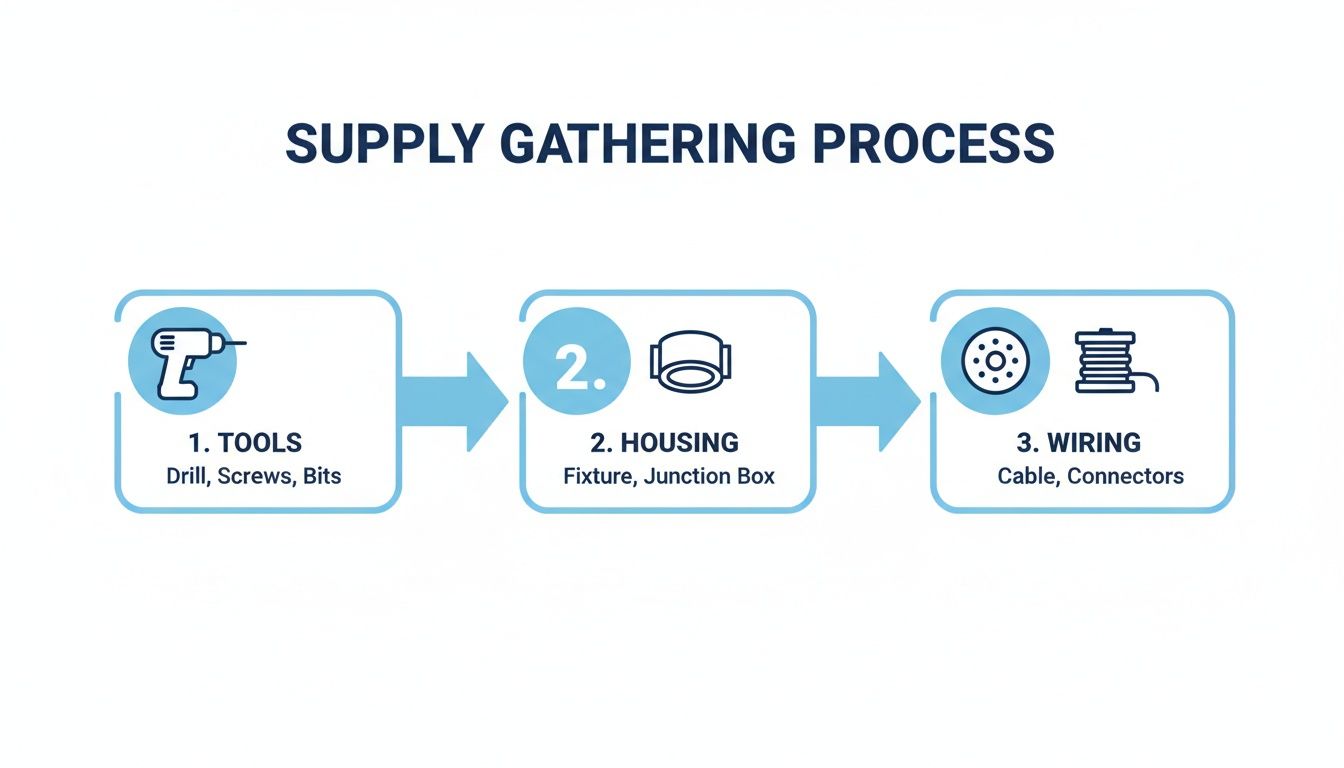
Getting your tools, the right remodel housings, and the proper wiring all lined up beforehand makes the actual job go a whole lot smoother.
Running and Connecting the Wires
Now it's time to get that electrical cable where it needs to go. The standard approach is to "daisy-chain" the lights. You'll run one cable from your power source (like an existing switch) to the first light, then another cable from that light to the next, and so on down the line.
If you have access to the attic above, this part is pretty straightforward. If not, you’ll be getting friendly with your fish tape to pull the cable from one hole to the next inside the ceiling. It takes a bit of patience and finesse, but it's completely doable.
Once the cables are hanging out of each opening, you can start wiring the housings.
Prep the Wires: Carefully strip about 3/4 of an inch of insulation off the black (hot), white (neutral), and bare copper (ground) wires on both the cable and the housing.
Make the Connections: Pop open the junction box on the side of the housing. Push the cable from the ceiling into the box. Now, connect the wires by color using wire nuts: black to black, white to white, and ground to ground.
Give it a Tug: Gently pull on each wire to make sure the connection is solid inside the wire nut. A loose connection is a serious fire hazard.
Button it Up: Tuck the wires neatly back into the junction box and snap the cover closed.
With the wiring done, tuck the junction box and all the excess wire up into the ceiling. Then, just push the recessed housing itself into the hole until its rim is flush with the drywall. The spring-loaded clips will snap into place, grabbing the back of the drywall and holding the can tight.
The No-Install Advantage of a New Build
Going through all these steps really puts the work—and the mess—into perspective. It’s exactly why getting recessed lighting included from the get-go in a new home is such a huge win. When I work with clients building new homes in communities across Baltimore County, Maryland and Harford County, Maryland, this is one headache they never have to deal with.
All of our homes come with a full set of recessed lights as a standard feature, which means no installation is needed for you! That means no dust, no weekends spent on a ladder fishing wires, and, most importantly, no surprise costs. Most builders will charge you $250 to $500 per light as an upgrade. By including them standard, we save our clients thousands and deliver a home that’s perfectly lit and ready for move-in day. It’s just one of the ways we try to make building your dream home a smarter, more valuable experience.
Choosing Trims and Bulbs to Perfect the Look
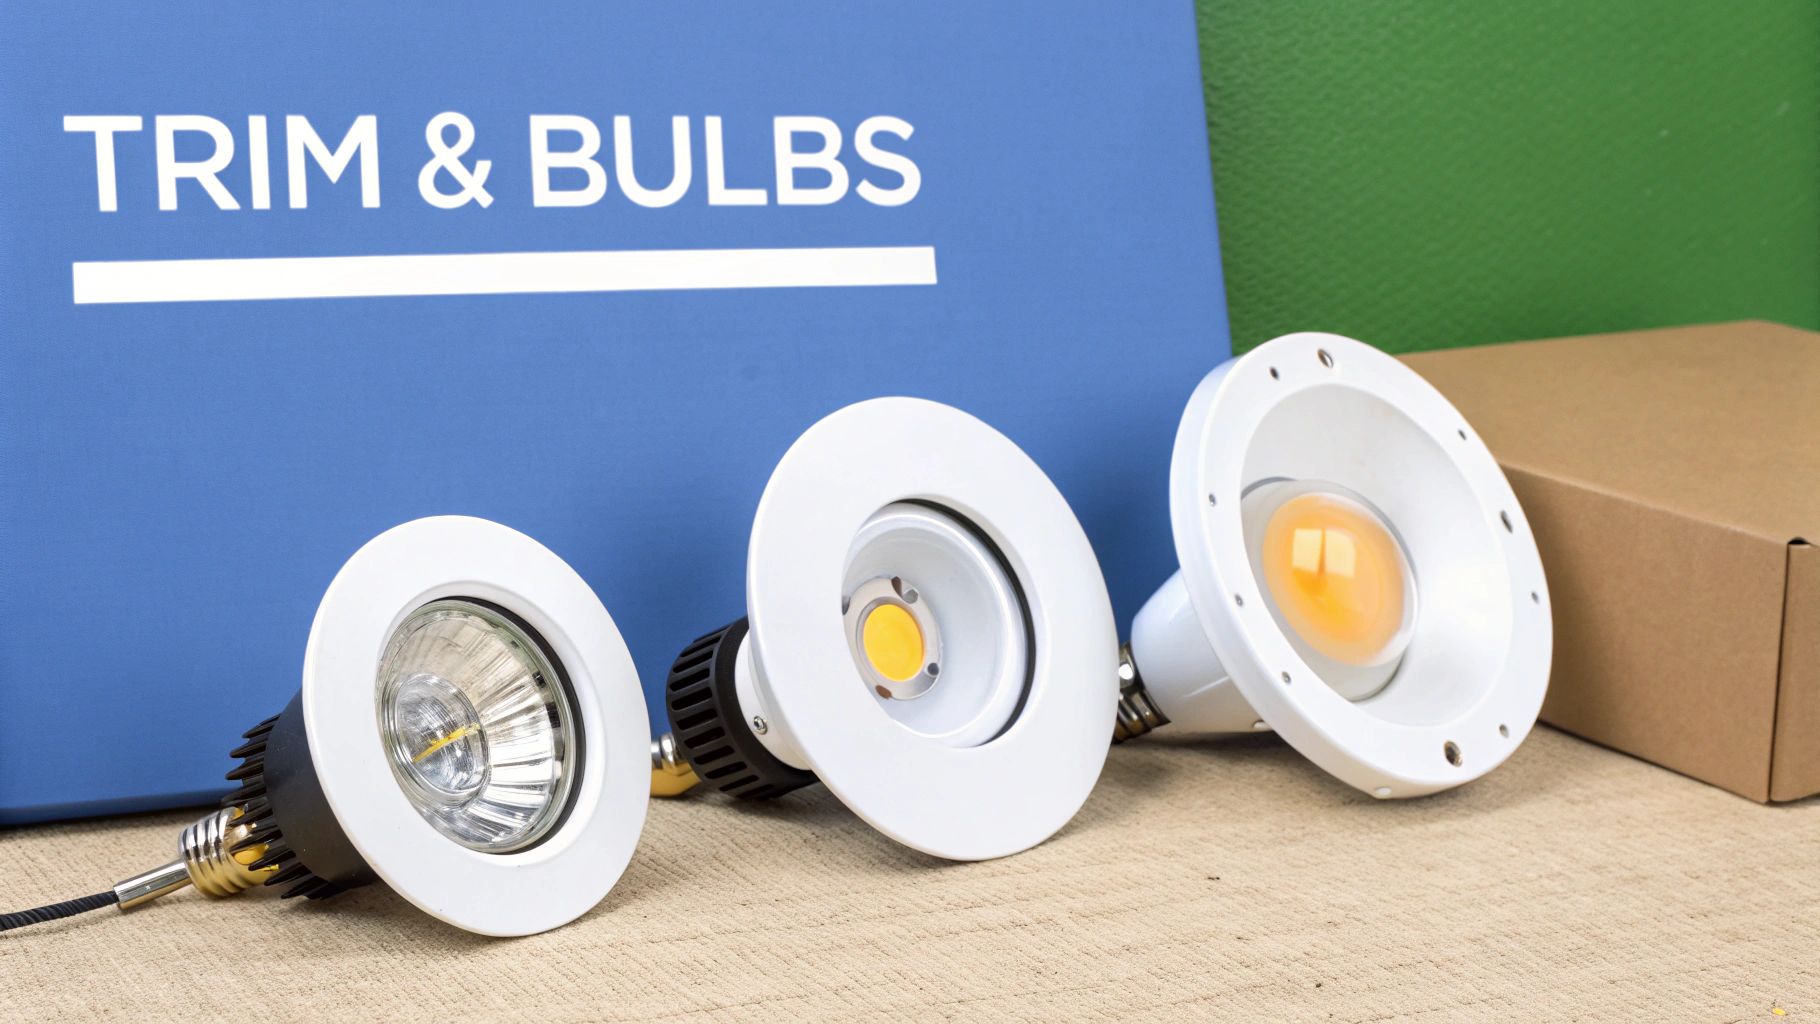
Alright, the hard work is done, and now for the fun part—picking out the finishing touches that bring your new lighting to life. The trims and bulbs are what everyone sees, and they’re your chance to really nail the style and function you're going for.
Think of the trim as the visible ring that sits flush against your ceiling. It does more than just hide the housing; it shapes the light itself.
Finding the Perfect Trim Style
The key here is to think about what you actually do in the room. For example, you wouldn't use the same harsh lighting in a cozy den as you would in a busy kitchen. Makes sense, right?
Baffle Trims: These are the workhorses of the recessed lighting world. Their ribbed interiors are designed to soak up stray light and kill glare. They're a fantastic choice for living rooms or bedrooms where you want soft, comfortable light that isn't distracting.
Reflector Trims: If you want to blast as much light into a space as possible, this is your trim. The inside is basically a tiny mirror, reflecting every bit of light downward. They're perfect for task-oriented areas like kitchen islands, workshops, or home offices where brightness is a priority.
Adjustable Trims: You might hear these called "eyeball" or "gimbal" trims. They let you pivot the light and point it exactly where you need it. For instance, if you have a favorite painting you want to highlight or need to aim light into a dark reading corner, this is the trim for the job.
The right trim is more about function than fashion. A simple baffle trim can make your family movie night way more enjoyable by cutting screen glare, while a reflector trim can make chopping veggies much safer.
Let's Talk LED Bulbs and Color
With your trims sorted, it’s time for bulbs. Honestly, in this day and age, modern LEDs are the only way to go. They’re wildly energy-efficient and can last for years, so you can pretty much set them and forget them.
The single most important thing to understand is color temperature, measured in Kelvin (K). This number tells you if the light will feel warm and yellowish or cool and bluish-white. A lower Kelvin number is warmer; a higher one is cooler.
A 2700K bulb, for instance, gives off that classic, cozy glow you’d expect from an old-school incandescent bulb—perfect for bedrooms and living rooms. Jump up to a 5000K bulb, and you get a crisp, bright white light that feels like natural daylight, which is great for garages, laundry rooms, or anywhere you need to see clearly.
The shift to energy-efficient LEDs has completely changed the game. North America is leading the charge, holding 45.80% of the global recessed lighting market. Experts predict this market will balloon from USD 78.32 billion in 2024 to an incredible USD 265.09 billion by 2035. Why? Because LEDs last up to 25 times longer than old bulbs and can slash energy costs by over 75%. You can dig into the market trends here.
The Simple, No-Install Solution
Getting all these details right is satisfying, but let’s be real—the installation process isn’t for everyone. That’s where we do things differently.
When you build a new home with us in places like White Marsh, Maryland or Edgewood, Maryland, we include a full set of recessed lights as a standard feature, so you don't need to install a thing! You get to walk into a perfectly lit home on day one.
It's a huge value, especially when you consider most builders charge $250 to $500 per light as an upgrade. Plus, our homes come packed with other conveniences. Check out some of our standard smart home features to see how we build a better living experience from the ground up.
Knowing When to Call a Professional
Look, I'm all for the satisfaction of a good DIY project, but let's be real—the smartest tool you have is knowing when to put your own tools down. This is never more true than with electrical work.
Maybe you open up a switch box expecting to see standard copper wires, but instead, you find old, brittle aluminum wiring. That’s your cue. Stop immediately. It's time to call in a licensed electrician who knows how to handle that specific (and tricky) situation.
Another clear sign it's time to call a pro is when you need a brand-new circuit. For example, if your grand lighting plan is more than your existing circuit can safely handle, you'll need to add a new breaker to your main electrical panel. This is not a DIY job. Messing with your main panel is complex, dangerous, and requires a pro's understanding of your home's entire electrical system.
Think of it this way: calling a pro isn't a failure, it's a smart safety decision. It's about protecting your home, your family, and the investment you've made.
Local Codes and Professional Standards
Building codes, especially here in Maryland, can get very specific. In places like Baltimore County, Maryland and Harford County, Maryland, many electrical jobs legally require a licensed pro to pull the permits and do the installation. Trust me, it’s much better to check with your local building authority first than to run into headaches down the road.
When we're talking about new construction, professionals stick to exacting standards for a safe, flawless install. For example, they'll often space lights 4-6 feet apart to get that perfect, even glow and use damp-rated LEDs that can slash your lighting energy costs by up to 80%. You can get a deeper look into the industry's best practices by checking out the recessed lighting market and its standards.
This professional approach is exactly why, when you build a new home with me in communities like White Marsh, Maryland or Edgewood, Maryland, all the recessed lights are just included. We take care of the pro installation from the get-go, saving you the hassle and the surprisingly high cost—most builders will charge you $250 to $500 per light as an upgrade. It’s just one less thing for you to worry about.
Got Questions About Recessed Lighting? We've Got Answers
Alright, let's dive into some of the questions that always come up when people are planning a recessed lighting project. Getting these sorted out upfront can save you a lot of headaches down the road.
How Many Recessed Lights Can I Actually Put on One Switch?
This is probably the most common question I hear, and the answer boils down to simple math: your circuit's amperage and your lights' wattage. A typical 15-amp circuit in a home can handle a total load of about 1,440 watts.
Thanks to modern, super-efficient 9-watt LED bulbs, you could technically load up a circuit with a ton of lights. But just because you can, doesn't mean you should.
From my experience, a good rule of thumb is to stick to 10 to 12 lights per 15-amp circuit. This practical approach keeps you well clear of any overload risks and gives you a comfortable safety cushion.
What's the Big Deal Between IC-Rated and Non-IC-Rated Housings?
This one is all about safety, so pay close attention. It's a critical distinction.
IC-rated stands for Insulation Contact. These housings are engineered to be buried in your ceiling insulation without creating a fire hazard. They’re built to manage heat safely.
Non-IC-rated housings are the opposite. They absolutely must have at least three inches of clearance from any insulation.
For the vast majority of homes with insulated ceilings, IC-rated fixtures are non-negotiable. For example, if your attic has blown-in insulation, you must use an IC-rated can.
Can I Just Install These Myself, or Do I Need an Electrician?
While it might be tempting to save a few bucks and DIY this, you really need to check your local rules first. In some places, homeowners are allowed to do their own electrical work. But in many areas, like Baltimore County, Maryland or Harford County, Maryland, this kind of job requires a licensed electrician, permits, and a formal inspection.
Honestly, if you have any hesitation about working with wiring, it's best to call a pro.
This is one of the little details that makes building a new home with us so much easier. In our communities in places like White Marsh, Maryland and Edgewood, Maryland, a full set of recessed lights is included as a standard feature—no install needed! Most other builders will hit you with an upgrade fee of $250 to $500 per light. We just include it. You can learn more by reading our frequently asked questions about new homes in Maryland.
While the builder I represent provides high-quality homes, I go a step further—offering my clients unique proprietary visualization tools, hands-on service, and access to visualizers that help you bring your dream space to life. We handle the technical stuff like lighting so you can get to the fun part—choosing the flooring, countertops, and cabinets that make it your home. Start building your dream home today.
Comments