
How to Measure for Window Treatments: Pro Tips for a Perfect Fit
- Justin McCurdy

- Dec 28, 2025
- 12 min read
Ready to give your new home that finished, polished look? It all starts with perfectly fitting window treatments, and the secret is surprisingly simple: measure everything twice before you order once. Forget guesswork—let’s walk through exactly how to get started with a friendly tone, practical examples, and a clear plan.
Getting Your Window Measurement Toolkit Ready
Before you even think about fabrics or styles, gathering a few key items will make this whole process a breeze. You don't need a pro-level workshop, just a handful of simple tools to make sure your numbers are dead-on.
Here’s what you’ll want to have on hand:
A Steel Tape Measure: This is your MVP. Unlike a soft cloth tape, a steel one won't stretch or sag, so you get the most precise measurement possible. Seriously, don't skip this one.
Pencil and Paper (or a Notes App): You'll be taking several measurements for each window. Jot everything down clearly, making sure to label width and height so you don't mix them up later.
A Sturdy Step Stool or Ladder: For those taller windows, safety first! Make sure you can comfortably and safely reach the top of the window frame.
With your tools ready, the first big decision is figuring out your mounting style. This choice is a game-changer because it dictates not only how you measure but also the final look of your window treatments.
Inside Mount vs. Outside Mount
So, what's the difference? An inside mount means your blinds or shades fit neatly inside the window frame. This gives you a clean, minimalist look that really shows off your window trim.
On the other hand, an outside mount involves installing the treatment on the wall or trim above and around the window frame. This is a great trick for making a window appear larger and is a lifesaver for hiding any imperfections in the frame.
For example, imagine a new home in Edgewood, Maryland, with gorgeous, deep-set window frames you want to highlight. An inside mount would be a fantastic choice. But if you've got a window that isn't perfectly square (which is more common than you'd think), an outside mount is your best friend for creating a flawless, symmetrical look.
To help you decide, here’s a quick breakdown of what each style offers.
Inside Mount vs. Outside Mount At a Glance
This quick comparison will help you decide which mounting style is the right choice for your windows and aesthetic.
Feature | Inside Mount | Outside Mount |
|---|---|---|
Look & Feel | Clean, minimalist, built-in appearance. | Creates a dramatic look, makes windows seem larger. |
Best For | Showing off attractive window molding or trim. | Hiding imperfect frames or shallow windows. |
Light Control | Allows for slight light gaps on the sides. | Offers superior light blocking and privacy. |
Measurement | Requires precise width and depth measurements. | More forgiving; measurements are less critical. |
Ultimately, the choice comes down to your personal preference and the specific needs of each window.
The global window coverings market was valued at an impressive USD 34.50 billion in 2023, with North America accounting for a huge chunk of that. That massive scale means even tiny measurement mistakes can be costly for everyone involved. It’s exactly why getting these inside vs. outside mount methods right is so important.
Thinking beyond traditional blinds? The same principles apply. If you're also considering screens, it's helpful to know how to measure window screen size for a perfect fit.
Once you have all your numbers, the fun part begins! You can start bringing your vision to life by playing around with different styles and colors in our hands-on visualizer tools. Just plug in your measurements and see what works.
Getting it Right: How to Measure for Blinds and Shades
When you're dealing with blinds and shades, "close enough" just doesn't cut it. These treatments demand precision. Unlike curtains that have some wiggle room, a blind or shade needs to fit the window frame perfectly to look sharp and work smoothly. So, let’s get down to the nitty-gritty of getting those numbers spot-on.
This quick guide will walk you through the first key decisions for your window treatment project.

Kicking things off with the right tools and a clear plan for your mounting style is half the battle. It sets the stage for accurate measurements and a flawless final look.
The Secret to a Perfect Inside Mount
For an inside mount, you're aiming for a clean, snug fit right inside the window casing. Here's something you learn after a few projects: window frames are almost never perfectly square, not even in brand-new homes. That's why the pros use a simple trick to make sure the blinds never stick, scrape, or bind up.
You'll need to measure the width at three different spots:
Across the very top of the window frame
Right across the middle
Across the bottom
Now for the crucial part: always, always use the narrowest of those three measurements when you place your order. This one little step saves a mountain of headaches later. You'll do the same thing for the height—measure the left side, middle, and right side, then use the shortest measurement.
Don't forget to check your window's depth! You need to measure from the front edge of the frame all the way back to the glass. This tells you if there’s enough room for the headrail to sit flush without poking out into the room.
Mastering the Outside Mount
An outside mount is definitely more forgiving, but that doesn't mean you can just guess. This style requires a smart approach to adding extra width and height for full coverage. That extra bit, called "overlap," is what gives you better privacy and blocks those annoying slivers of light that try to peek around the edges.
A good rule of thumb is to add at least 2-3 inches to each side of the window frame. So, if your frame measures 36 inches wide, you should be ordering a blind that’s at least 40-42 inches wide. For the height, add another 2-3 inches above the frame to make room for the mounting brackets, and let the blind hang a little below the sill for a nice, finished look.
Blinds and shades are the heavyweights in the window treatment world. In fact, industry reports show they make up about 40-43% of all window covering revenue. Because they're so popular, the specific measurement rules—like measuring to the nearest 1/8-inch and checking headrail depth—have become the industry standard.
Let's walk through a practical example. Say you're measuring a sunny kitchen window for a sleek roller shade, and you've decided on an inside mount. Your width measurements are 35 ½ inches at the top, 35 ⅜ inches in the middle, and 35 ½ inches at the bottom. The number you'd write down and order is 35 ⅜ inches. That's your ticket to a perfect fit.
The great thing about modern homes is how easily you can blend style with smart tech. Once your new shades are installed, you could even think about automating them. It's surprisingly simple to integrate them with your other standard smart home features for a new level of convenience.
With these exact measurements in hand, you can order with total confidence, knowing your new blinds will look like they were custom-made for your home—because, well, they were.
How to Measure for Curtains and Drapes
Unlike blinds or shades that require surgical precision, measuring for curtains and drapes is more of an art. It’s less about fitting inside a frame and all about creating a vibe. The right drapes can make a room feel taller, wider, and a whole lot cozier, but it all comes down to getting the measurements right to nail that designer look.
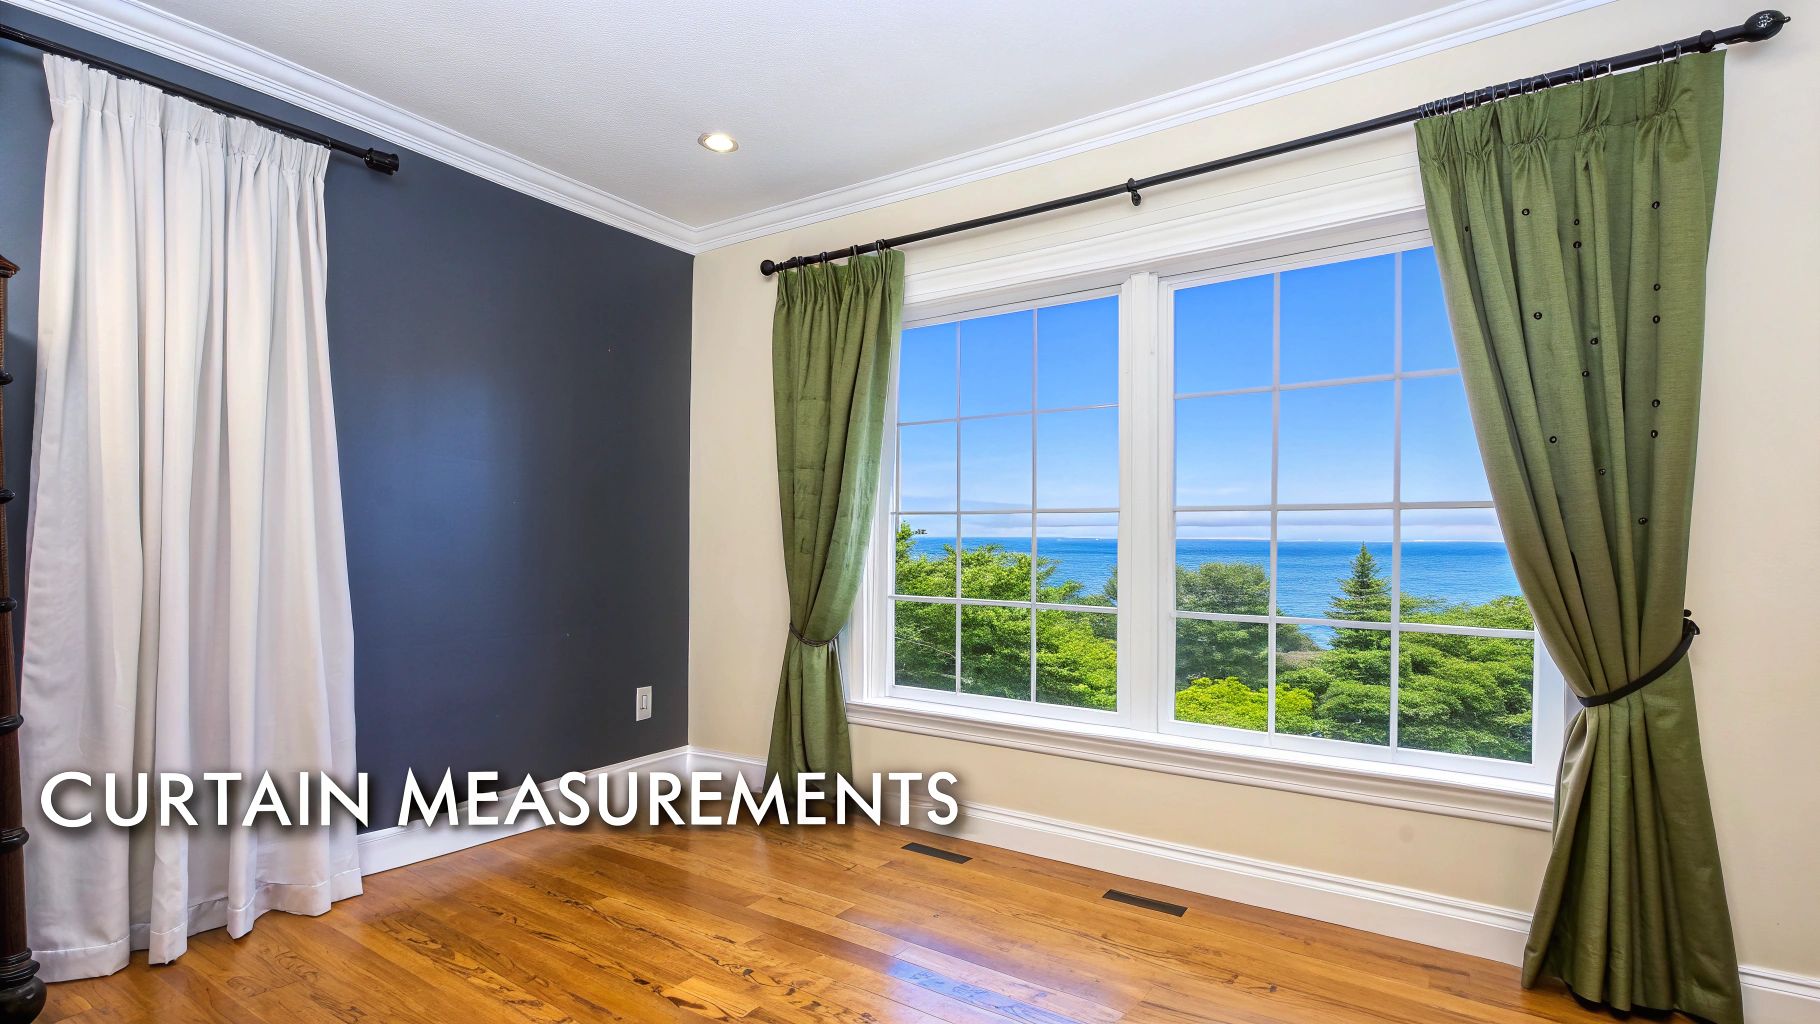
Let’s get into how a few simple choices in your measurements can make a huge difference in the final look.
Determining Curtain Rod Width
I see it all the time: homeowners mounting their curtain rod just a hair above the window frame. It’s probably the most common mistake, and it instantly makes a window feel smaller. To really open up a room and let in as much light as possible, the rule of thumb I always share is to go higher and wider.
As a good starting point, plan to mount your rod 4 to 6 inches above the window frame. For width, measure your window from one side of the frame to the other, then add 8 to 12 inches on each side. This extra room is what designers call "stack back"—it's the space where your curtains will live when they're open, ensuring they don't block any of that beautiful glass.
For a practical example, think about that 48-inch wide window in the primary bedroom of your new Baltimore County home. You wouldn't buy a 48-inch rod. Instead, you'd look for one that's at least 64 inches wide (48 + 8 + 8). This way, your curtains frame the window perfectly instead of cutting off a third of your view.
The right window treatments can completely change the atmosphere of a room. Whether you’re aiming for a bright and airy feel or a warm, cozy ambiance, it all starts with where you place that rod.
Selecting the Perfect Curtain Length
Now for the length. This is where you can really define the style of the room. My advice? Forget curtains that stop at the windowsill. For a polished, intentional look, floor-length is almost always the way to go. You have a few classic options, and each one creates a totally different feel.
To figure out your length, just measure from where you plan to hang the rod straight down to the floor.
Float Length: The curtains hang about a half-inch above the floor. This is a super clean, practical look that’s perfect for high-traffic areas or homes with kids and pets.
Kiss Length: The curtains just barely graze the floor. It’s a beautifully tailored, custom look, but it requires dead-on-accurate measurements to pull off.
Puddle Length: For a more dramatic, luxurious statement, add 6 to 10 inches to your floor-length measurement. This creates that elegant "puddle" of fabric on the floor you see in magazines.
Let’s go back to that primary bedroom. If the measurement from your high-mounted rod to the floor is 90 inches, you'd order 90-inch panels for a crisp "kiss" length. But if you’re dreaming of a more romantic, high-end feel, ordering panels that are 96 to 100 inches long will give you that gorgeous puddle effect.
By simply going wider with the rod and choosing a floor-length style, you instantly elevate your space. These are the exact strategies designers use to get that professional look. Once you have these numbers, you can start the fun part—finding styles that work with the flooring, cabinets, and countertops you’ve already picked out. This is where my proprietary visualizer tools really shine. We can plug in your exact measurements and show you precisely how different drapes will look, taking all the guesswork out of creating a home you love.
Tackling Tricky Windows and Special Cases
Let's be honest, not every window is a simple rectangle. What do you do when you run into that gorgeous bay window in the great room or the elegant French doors leading out to the patio of your new Harford County home? Don't sweat it. These unique spots just require a slightly different game plan. My goal here is to make sure you can walk up to any window, no matter its shape or size, and feel confident you can measure it correctly.
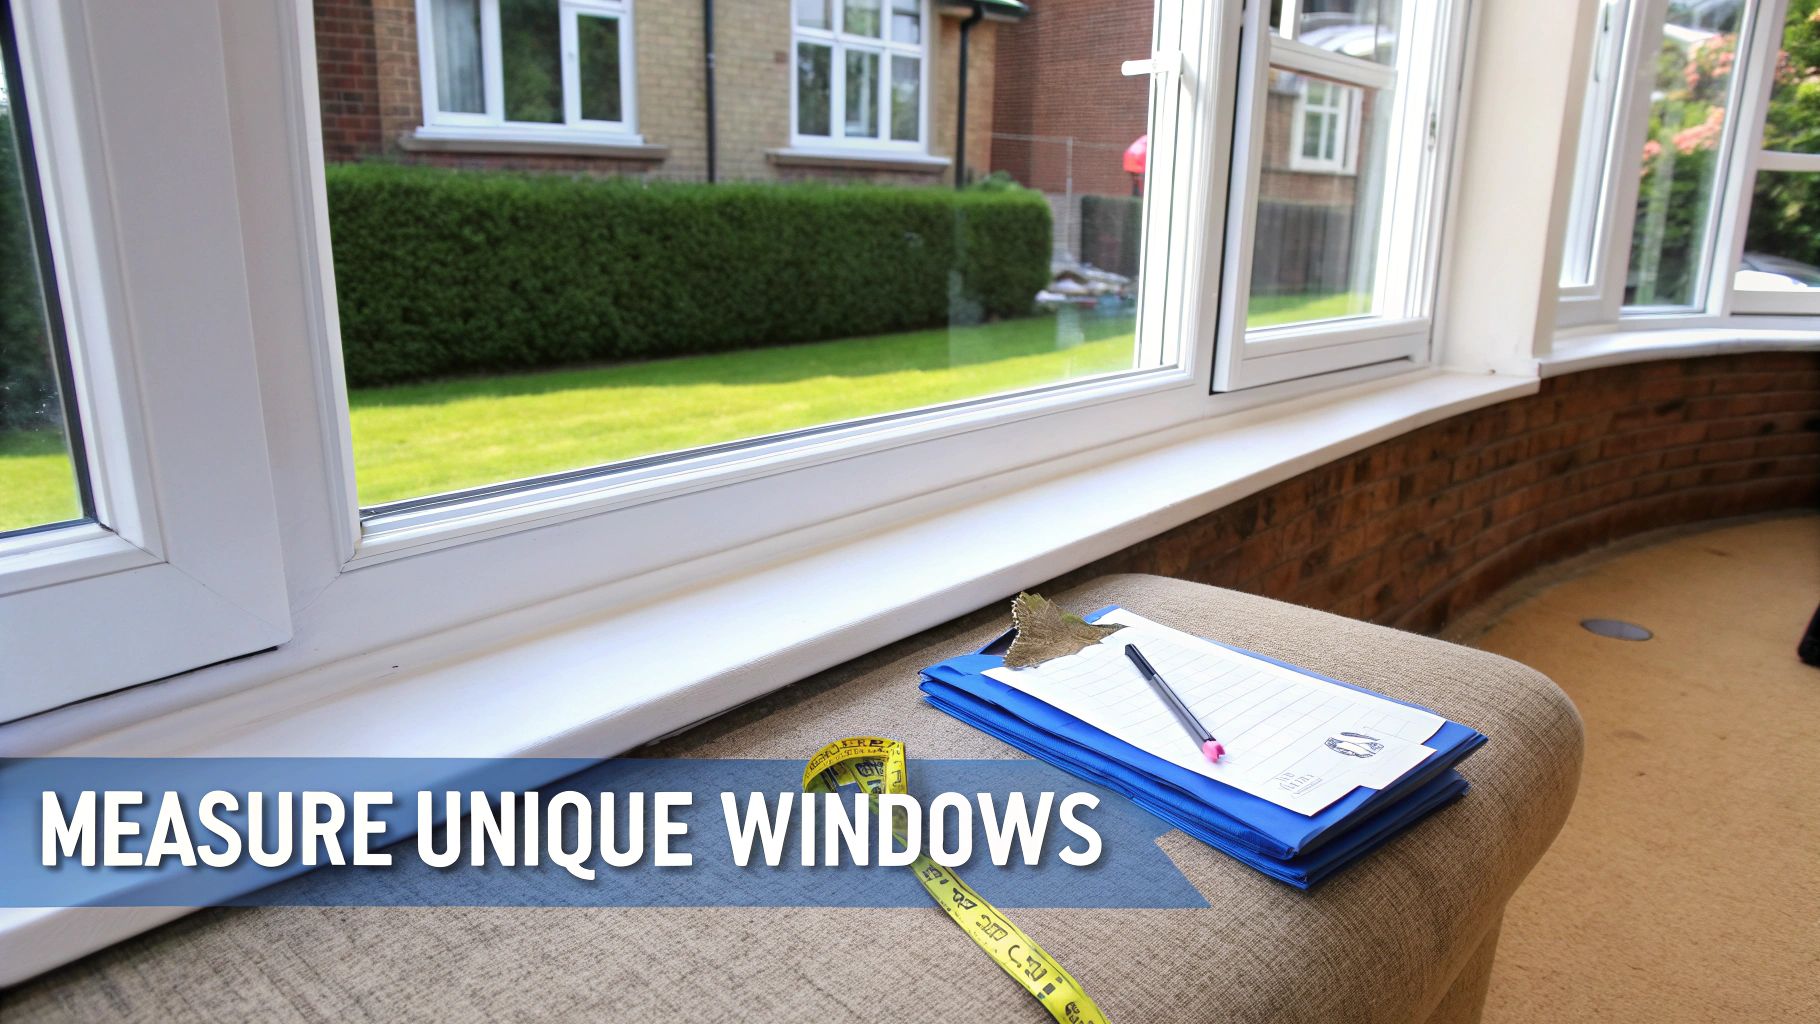
Measuring Bay Windows and Doors
When you're dealing with an angled bay window, the secret is to treat each pane of glass as its own individual window. Just measure the width and height of each section separately. The real trick is figuring out the corners where the treatments will meet. You have to account for the depth of the headrails to make sure they don’t clash or bump into each other when you operate them.
French doors are a whole different ballgame because hardware is the main concern. An outside mount is almost always your best bet here, ensuring the door can still swing open without a hitch. Measure the glass, then add at least 1-2 inches of overlap on all sides for the perfect fit. And don't forget that door handle! Make absolutely sure your blind or shade will clear it completely when it's all the way up.
Specialty Treatments for Efficiency and Style
Beyond tricky shapes, you might be looking at specialty treatments for what they can do for your home. Energy-efficient cellular shades, for instance, are incredible insulators. When you're measuring for these, a snug outside mount with a generous overlap can seriously boost your home's thermal performance.
Adding an extra 2-4 inches of overlap beyond the glass on each side can dramatically cut down on heat loss. This is even more critical now that smart, motorized window treatments are gaining popularity. These systems demand dead-on measurements because they need very specific mounting depths to accommodate wiring and motors. Even a small mistake can mean more time and money during installation, chipping away at the energy savings you were hoping for.
Try to picture how different treatments would look on that big bay window in your future living room. You can explore all sorts of styles for your new home in White Marsh or Baltimore County by taking one of our virtual tours of new homes in Maryland.
For those really large or oddly shaped windows, sometimes the best first step is just to get inspired. When you’re up against a challenging spot, seeing how others have tackled it can be a huge help. Check out these window treatment ideas for large windows to get the creative juices flowing.
Ultimately, it’s all about finding that perfect blend of function and style. With my unique visualization tools, we can plug in your measurements—tricky windows and all—and show you exactly how different options will look before you ever place an order. It's the best way to guarantee you'll love the final result.
Turning Raw Numbers into a Beautiful Home
You've wrestled with the tape measure and have all your numbers lined up. Nice work! Now for the fun part: turning those measurements into window treatments that pull your entire home together. This is where we bridge the gap between technical specs and the creative joy of making a house feel like your home.
So, how do you make sure the window treatments you pick actually look good with the gorgeous flooring and countertops you spent so much time choosing? That's where I come in, with a hands-on approach and some pretty cool visualization tools that take all the guesswork out of the process.
Your Personal Design Partner
While the builder provides a high-quality home, I go a step further—offering my clients unique proprietary visualization tools and hands-on service to help bring your dream space to life. We help buyers customize their homes by picking flooring, countertops, cabinets, tile, and all the finishing touches.
Here’s how we'll do it together:
Match Your Finishes: We'll pull up the flooring, countertops, and cabinet selections you've already made and see how different treatments look right alongside them.
Nail Down Your Look: Whether you're in White Marsh or another part of Harford County, you'll find the perfect window treatments that fit your personal style.
This way, your new window coverings are never just an afterthought. They become a key part of your home’s story. For a little inspiration, take a look at our gallery of new homes in Maryland to see how these final details can make a huge impact.
Let's work together to transform those precise measurements into a home that feels completely and uniquely you.
Answering Your Top Window Measurement Questions
Even after you've got the basics down, a few tricky questions always seem to surface. I've been helping new homeowners in Maryland get this right for years, and I've heard them all. Let's tackle the most common ones so you can measure like a pro.
What's the Biggest Mistake People Make?
Hands down, the most frequent error I see is grabbing a soft, cloth measuring tape—the kind you'd find in a sewing kit. Those things can stretch and sag, and even a tiny bit of give can completely wreck the fit of your new blinds. Always, always use a steel tape measure. It's non-negotiable for accurate results.
Another classic mistake is measuring the old window treatment instead of the window opening. Your old blinds might have been a "close enough" fit, but you're aiming for perfect this time. Measure the bare window frame to get the true dimensions.
Should I Round My Measurements?
Great question. The answer is simple: don't round at all. Precision is everything when it comes to window treatments. You need to record your measurements to the nearest 1/8th of an inch. It might feel a little obsessive, but trust me, those small fractions make all the difference.
Resist the urge to round up or down to a whole number. When you order an inside-mount product, the manufacturer knows exactly what to do. They take your precise measurements and make their own small deductions (usually about 1/4 to 1/2 an inch) so the final product fits and operates without a hitch. Your job is just to give them the exact, unedited numbers.
For example, if your measurement is exactly 34 and 3/8ths inches, write that down. Don't round it to 34 inches or 34 and a half. That tiny 1/8th of an inch is the key to a professional fit.
What if My Windows Aren't Perfectly Square?
First off, don't panic. This is completely normal, even in new homes. Almost no window is perfectly square, and that’s exactly why we measure in three places (top, middle, bottom for width; left, center, right for height).
For an inside mount, the rule is simple: use the narrowest width and the shortest height. This ensures that no matter what, the blind or shade will fit inside the tightest part of the frame without scraping or getting jammed. If you find your window is out of square by more than half an inch, an outside mount is probably your best bet. It's a fantastic way to camouflage the imperfection and give the illusion of a perfectly straight window.
Feeling more confident? Now you can turn those perfect measurements into a reality. Here at Customize Your Home, I offer a hands-on service with unique visualizer tools that let you see exactly how different window treatments will look in your new space. From flooring and countertops to the perfect shades, we let you customize every detail.
Ready to bring your dream home to life in White Marsh, Edgewood, or Baltimore County? Let’s get started. https://www.customizeyourhome.com
Comments